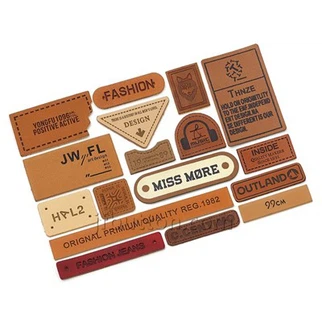
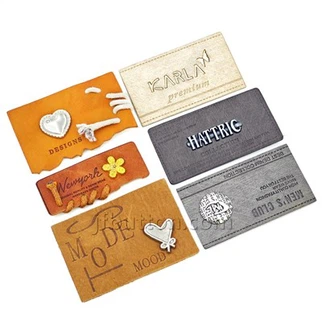
라벨 인쇄는 제판 단계에서 몇 가지 주요 인쇄 방법을 다룹니다. 다른 제품의 특성에 따라 다른 인쇄 방법이 선택되고{0}제판 프로세스도 인쇄 방법에 따라 다릅니다. 이 문서는 간단한 소개를 위해 플렉소그래픽 제판 공정을 예로 들어 설명합니다.
플렉소 제판 공정 흐름은 다음과 같습니다. 원본{0}}필름(네거티브 필름)-노출-헹굼-건조-포스트{5 }}처리 중입니다.
1. 원본. 플렉소 인쇄에 적합한 원래 디자인은 다음과 같은 특성을 가져야 합니다. 많은 수의 색상. 그러나 중복 인쇄는 적습니다. 특히 작은 세부 사항을 재현할 필요는 없습니다. 네트워크 케이블이 너무 높지는 않지만 컬러 인쇄 효과를 얻을 수 있습니다. 온라인으로 포장할 수 있습니다.
2. 필름(질 필름). 명확한 그림과 텍스트, 정확한 크기 및 크기 사양으로 제판 요구를 충족합니다. 젖빛 필름을 사용하여 필름의 네 모서리가 동일한 밀도를 가져야 합니다. 약물 필름 맞춤법 사용; 투과 농도계를 사용하여 백색 레벨 밀도는 0.06 미만입니다. 블랙 레벨 밀도는 3.5 이상입니다.
3. 노출에는 후면 노출과 메인 노출이 있습니다.
① Back exposure. The photosensitive resin plate with the support film up and the protective film down is laid flat in the exposure drawer for exposure. Ultraviolet light penetrates the support film to cure the photosensitive adhesive layer. In order to establish a stable base, it can also control the depth of plate washing and strengthen the bonding force between the support film and the photosensitive resin layer. The back exposure time is determined according to the desired substrate thickness.
②Main exposure. Also known as front exposure, the photosensitive resin plate support film faces down and the protective film faces up. Tiled in the exposure drawer. Tear off the protective film once in a row, and then stick the film surface on the photosensitive resin plate. The inspection method of the vacuum film is covered on the film (non-drug film is evacuated, so that the film and the photosensitive resin layer are closely attached. The ultraviolet rays pass through the vacuum film and the light-transmitting part of the film to make the plate photosensitive Partial polymerization and curing. The length of the main exposure time is determined by the type of plate material and the strength of the light source. If the exposure time is too short, the gradient of the graphics and text will be too straight, the lines will be curved, and the small characters and small dots will be washed out. Otherwise, the exposure time will be too long. , the handwriting is blurred. If there are big, small, thick and thin lines on the same printing plate, it can be covered with black film and exposed separately according to the situation. The small part will not be lost due to washing, so as to ensure the quality of the printing plate.
4. 헹굽니다. 감광되지 않은{1}} 부분을 세척하고 용해하면 광중합된 릴리프가 보존됩니다. 판 세척 시간의 길이는 인쇄판의 두께와 인쇄 패턴의 깊이에 따라 결정됩니다. 세척 시간이 너무 짧으면 감광되지 않은 수지가 판에 남아 제판 깊이에 영향을 미칩니다. 떨어져.
5. 건조. 플레이트 세척 용매를 제거하여 플레이트를 원래 크기와 두께로 복원합니다. 베이킹 온도는 50-60도입니다. 베이킹 시간은 판의 두께와 세척 시간의 길이에 따라 결정되며 일반적으로 두꺼운 판은 2시간, 얇은 판은 1시간입니다. 베이킹 시간이 너무 길고 베이킹 온도가 너무 높으면 인쇄판이 부서지기 쉽고 인쇄 수명에 영향을 미칩니다. 베이킹 온도가 너무 낮으면 건조 시간이 길어지고 베이킹 시간이 너무 짧으면 인쇄 중에 썩은 버전이 생깁니다.
6. post-processing. That is, de-sticking and post-exposure. Make the photosensitive resin completely harden (polymerize) to achieve the proper hardness index, and eliminate the viscosity of the printing plate, so as to facilitate the transfer of ink. The post-processing time is obtained from the test, and the purpose is to not crack or stick.